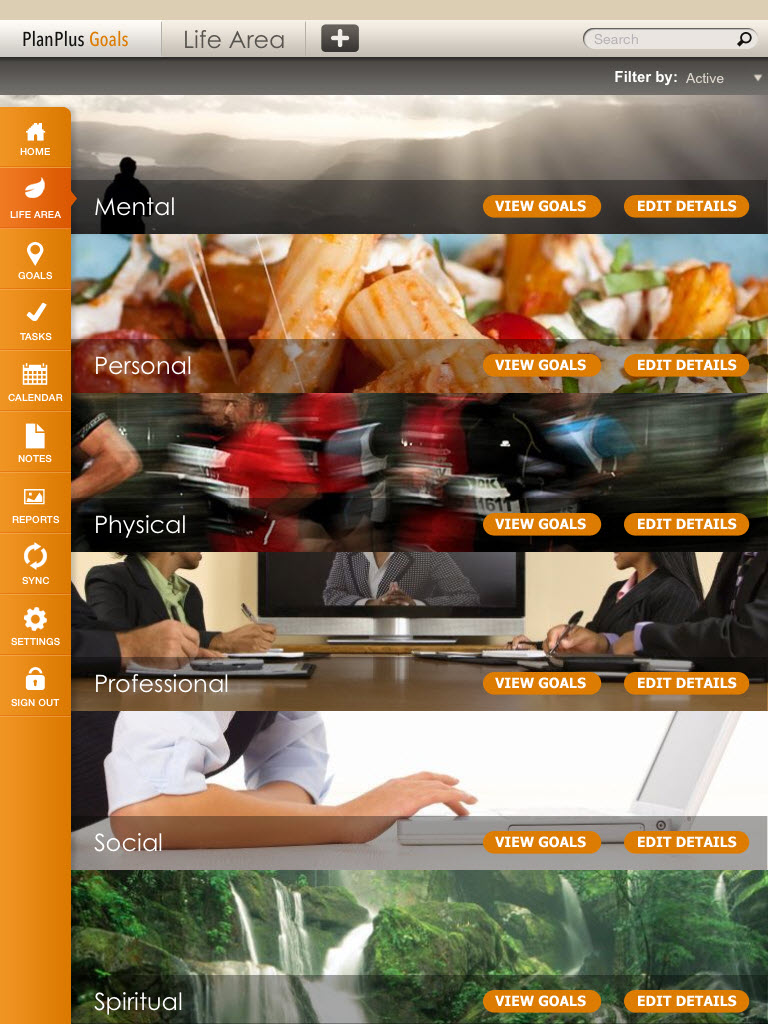
Life Areas are the top level of identifying your goals. The application comes pre-loaded with examples of Life Areas such as Personal, Professional and others. New Life Areas can be created to cover other areas of your life.
Navigate to the Life Areas by tapping on the menu bar and select the Life Areas.
Using the + button in the header opens a new Life Area detail screen. Here you can add a title, status and an image to your Life Area. Status of Active means you are actively working to complete the Goals under that Life Area or you can set a Life Area to Inactive to work on at a later time. Select an image that best represents the Life Area, images can be selected from the camera roll or any photo library. PlanPlus Goals provides a library of images which are correctly sized to fit.
Note about Images: Your PlanPlus Goals application comes with a library of rich photos to assign to your Life Areas and Goals which can be downloaded to your iPad Photo library from the Settings Page. Not all personal images will fit the space available. Square photos will be centered rather than stretched to fit. Panoramic photos will fit in the space available. If a photo is not selected the default image will be assigned to the new Life Area or Goal.
Life Area Filtering: Filter your Life Areas by Active, Inactive or All. View All your Life Ares at one time or select a specific Life Area to keep your focus on by going to the View Details of that Life area or just to review and evaluate where you are keeping your focus. Occasionally a Life Area may be put on hold so you can set the status to Inactive then re-engage at a later time and set it for Active.